Follow the incoming light through the upstairs mirrors until the beam reaches the skull, then carry the Fifth Night Relic back to the elevator. The floor reward is Spore-Worn Traffic Cone. A completed beam is your signal to collect the relic; the return journey still matters.
This walkthrough combines published gameplay screenshots and written guides. We have not completed it on a site account. Match the instructions to the puzzle visible in your current run.
Find the upstairs mirror room
Choose Floor 5 in the theater elevator and explore for the pale, Mimic-themed puzzle room. Go upstairs to the mirrors. The maze route can vary: a writer's left or right turn is a location in that run, rather than a map for every server. Hiachi from The Mimic is the floor's pursuer. Room and reward reference.
Before turning anything, identify three landmarks: where light enters, the first mirror receiving it, and the skull near the shelves that is the final target. These give you a way to judge progress without counting unexplained clicks.
Connect one reflection at a time
- Start with the mirror hit by the incoming light. Turn it and watch where its outgoing beam lands.
- Once the next mirror receives light, follow that beam to its next destination.
- After a turn, look back along the part you already connected. Mirrors with matching colored orbs can move together, so one adjustment can change an earlier reflection.
- Continue through the room until the final reflection reaches the skull.
- Collect the Fifth Night Relic and retrace your route to the elevator.
The colored orb identifies a mirror group; it does not mean the beam must only travel between mirrors of that color. The linked movement is described in Gamezebo's Floor 5 section. TechWiser also shows a sequence crossing between different mirror colors in its illustrated walkthrough.
Use this as a reading diagram, not a fixed room map:
Incoming light → receiving mirror → next illuminated mirror → remaining reflections → skull → relic → elevator
When the beam stops reaching the next mirror
| What you see | What to inspect |
|---|---|
| Light hits a wall or empty space | The last illuminated mirror's outgoing direction |
| An earlier connection disappears after a turn | Both the mirror you touched and its linked color group |
| A copied sequence produces a different result | The starting orientations and actual light path in this run |
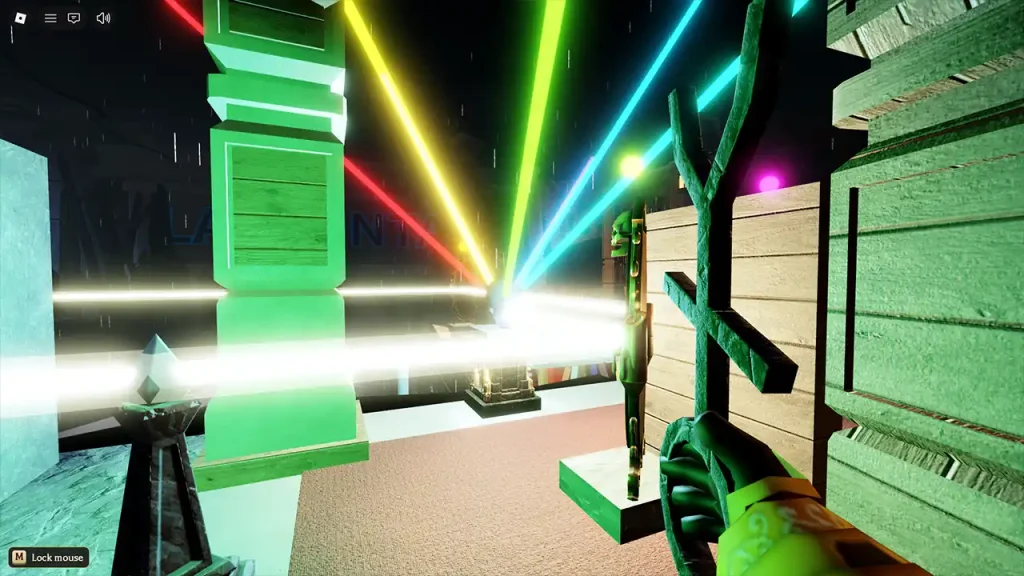
| Colored rays reach the central target | The relic pickup and your route back out |
Change one thing, inspect the result, then continue. If several mirrors move, compare the entire affected group before making another adjustment. This makes it easier to locate the first broken reflection than turning several mirrors in a row and checking only at the end.
The screenshot illustrates the target end of one published run. It does not establish a universal click count or prove that every server begins with the same orientations.
Finish the relic return
Keep the relic with you and return through the elevator. Check for the Spore-Worn Traffic Cone award, then check your avatar inventory. A badge records progress; it is not the same identifier as the wearable item. The reward checklist and short claim route keep those steps together.
Floor 5 also contains the hidden Dress To Impress claim room. Veil of Darkness belongs to the DTI partner quest and has its own final pedestal interaction. Solving the mirror puzzle does not complete that quest. Use the Veil of Darkness steps if that is the item you want.
Next floor: the Floor 6 cauldron puzzle. For light sources and ticket spending, open the ticket guide. Check the reward deadline before leaving a claim unfinished.